Thickness
Click the Thickness button on the toolbar (or press the H key).

Next, press the left mouse button over the image and drag the mouse up to increase thickness or down to decrease thickness.
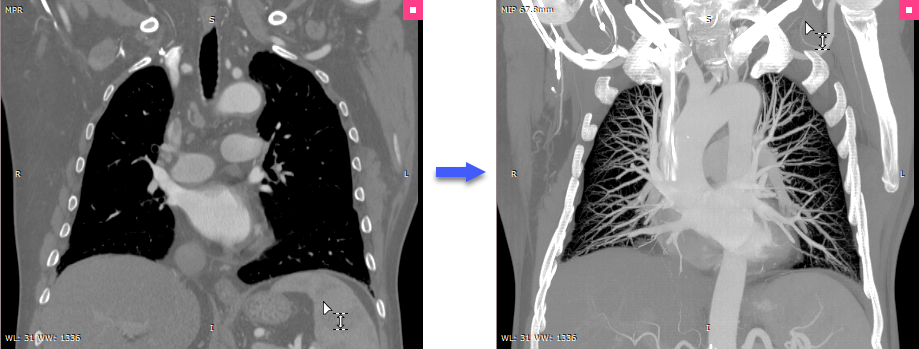
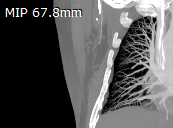
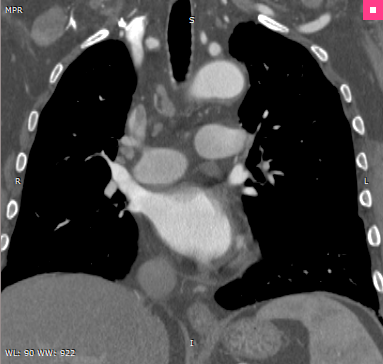
The value of the slab thickness in millimeters (and the rendering mode) is displayed in the top-left corner.
Press the Ctrl + Shift key and drag the mouse with the left button depressed, and the thickness tool will be active regardless of the current left mouse button association.
Alternatively, the Plus (+) and Minus (-) keys can be used to change thickness.
On multi-touch devices, touch the image with four fingers and drag them up or down to change thickness.
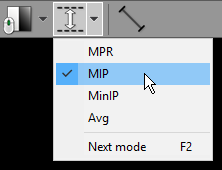
Rendering modes (MIP/MinIP/Avg)
Immediately after the 3D MPR windows is opened, the images are displayed with minimal possible thickness (in accordance with the size of the voxels in the volume).
When the thickness is increased, images are rendered in one of the following modes:
•MIP (Maximum Intensity Projection)
•MinIP (Minimum Intensity Projection)
•Avg (Average)
 MPR |
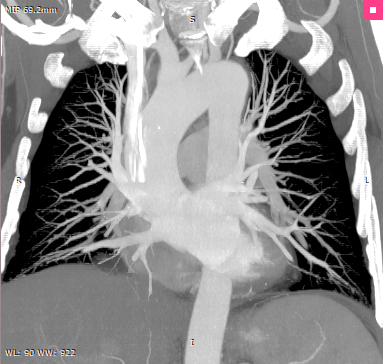 MIP |
 MinIP |
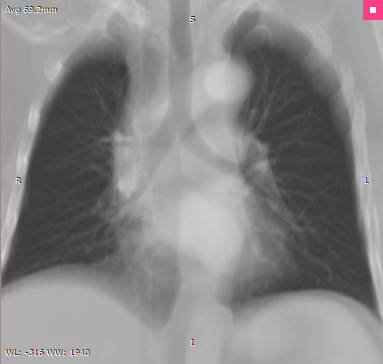 Avg |
To quickly switch the applied rendering mode, press F2 .
You can also click the rendering mode indicator in the top-left corner.
Alternatively, these modes are available from the Thickness drop-down menu.