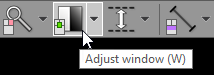
Click the Adjust image window button on the toolbar (or press the W key).
Next, press the left mouse button over the image and drag the mouse to change brightness (window level - WL) or contrast (window width - WW):
•Up to decrease brightness (window level goes up)
•Down to increase brightness (window level goes down)
•Left to increase contrast (window width shrinks)
•Right to decrease contrast (window width expands)

By default, the windowing tool is associated with the middle mouse button.
Press the Ctrl key and drag the mouse with the left button down and the windowing tool will be active, regardless of the current association.
On multi-touch devices, touch the image with three fingers and drag them in the directions described above to adjust the window level and width.
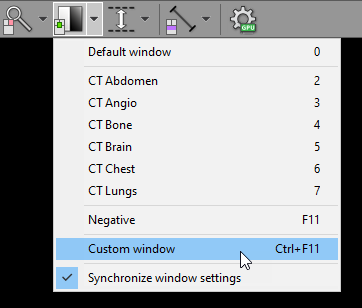
Press 0 to set the default window for the loaded series.
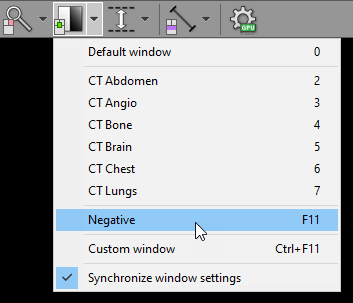
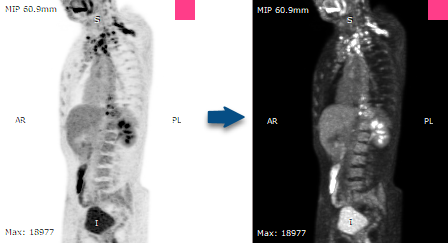
Negative mode
Press the F11 key or click the Negative menu item to toggle the negative mode for the image.
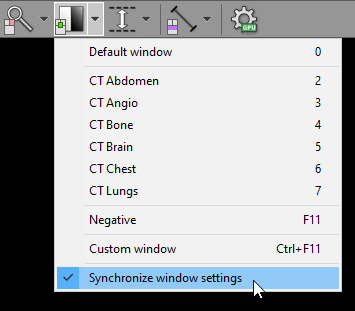
Synchronization
Window settings are synchronized in all viewports by default.
To toggle the synchronization, click the Synchronize window settings menu item.
Custom window
Press the Ctrl + F11 keys or click on the Custom window menu item to precisely adjust the WW/WL settings.
You can learn more about the custom window setting in the 2D viewer section.